Oregon Zoo, 2009 (Portland, OR)
The journal page I wanted to share today took a turn for the worse (too heavy acrylic paint = torn sketchbook page), so I decided to share a couple of my favorite older pages. Are the leaves falling where you live? Pretty leaves on the ground can be a great source of inspiration. Preserving fallen leaves is an easy way to save a memory for years. I still remember picking up these leaves on my first (sort of) date with Bill at the Oregon Zoo. See below for some tips on keeping leaves in your sketchbook.

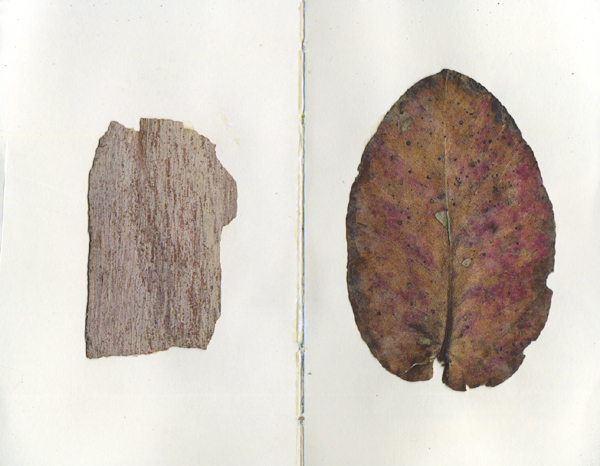
Sawdust Festival, 2005 (Laguna Beach, CA)
Can you believe this page has survived so well for 7 years? The left side is a very thin piece of bark. These easy tips have worked well for me.
01. Choose thick, sturdy leaves that have not yet dried. Partially dried or fragile leaves will take a bit more care to preserve.
02. Place the leaves between two sheets of white paper and place a stack of heavy books on top.
03. Be patient while the leaves dry. Check on the leaves after about a week. If they still feel damp or pliable, be more patient.
04. When the leaves are completely dry and flat, brush a thickish layer of adhesive to the back of the leaves. Press the leaves gently into your sketchbook. I’ve used acrylic gel mediums or Mod Podge in the past with success.
05. If you’d like an extra bit of protection and shine, use a brush to apply thin layers of acrylic sealer or varnish to the top of the leaves (the leaves at the top of this post have this treatment).
06. Important: let the page fully dry! I’ve learned this lesson in the past, and it’s not fun to ruin a beautiful page.
If you have more patience than I do, you might want to check out these more official sounding methods at Home Science Tools.
If you create a page with leaves, please link to your blog post or image in my comments. I’d love to see them! Happy gathering!
Comments 2